EN
EN
What is Aluminum Profile and How Does It Work?
2026/09/30
Source aluminum profiles for versatile modular framing. Learn extrusion mechanics, strength benefits & corrosion resistance. Request details.

2026/09/24
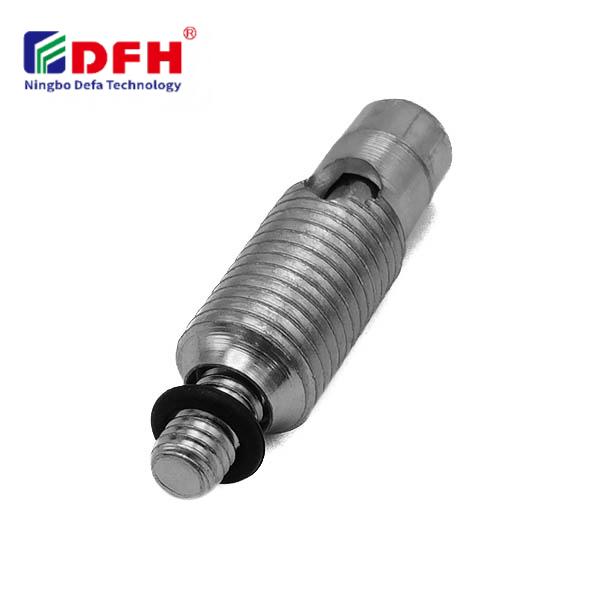
Proper installation of angle connectors is critical to ensuring structural integrity and longevity in industrial assemblies. Whether you're working with aluminum extrusions, metal frameworks, or modular construction systems, the technique you use to secure angle connectors directly impacts the stability and durability of your final assembly. This guide walks you through the essential steps and best practices for installing angle connectors correctly, helping you avoid common mistakes and achieve professional-grade results.
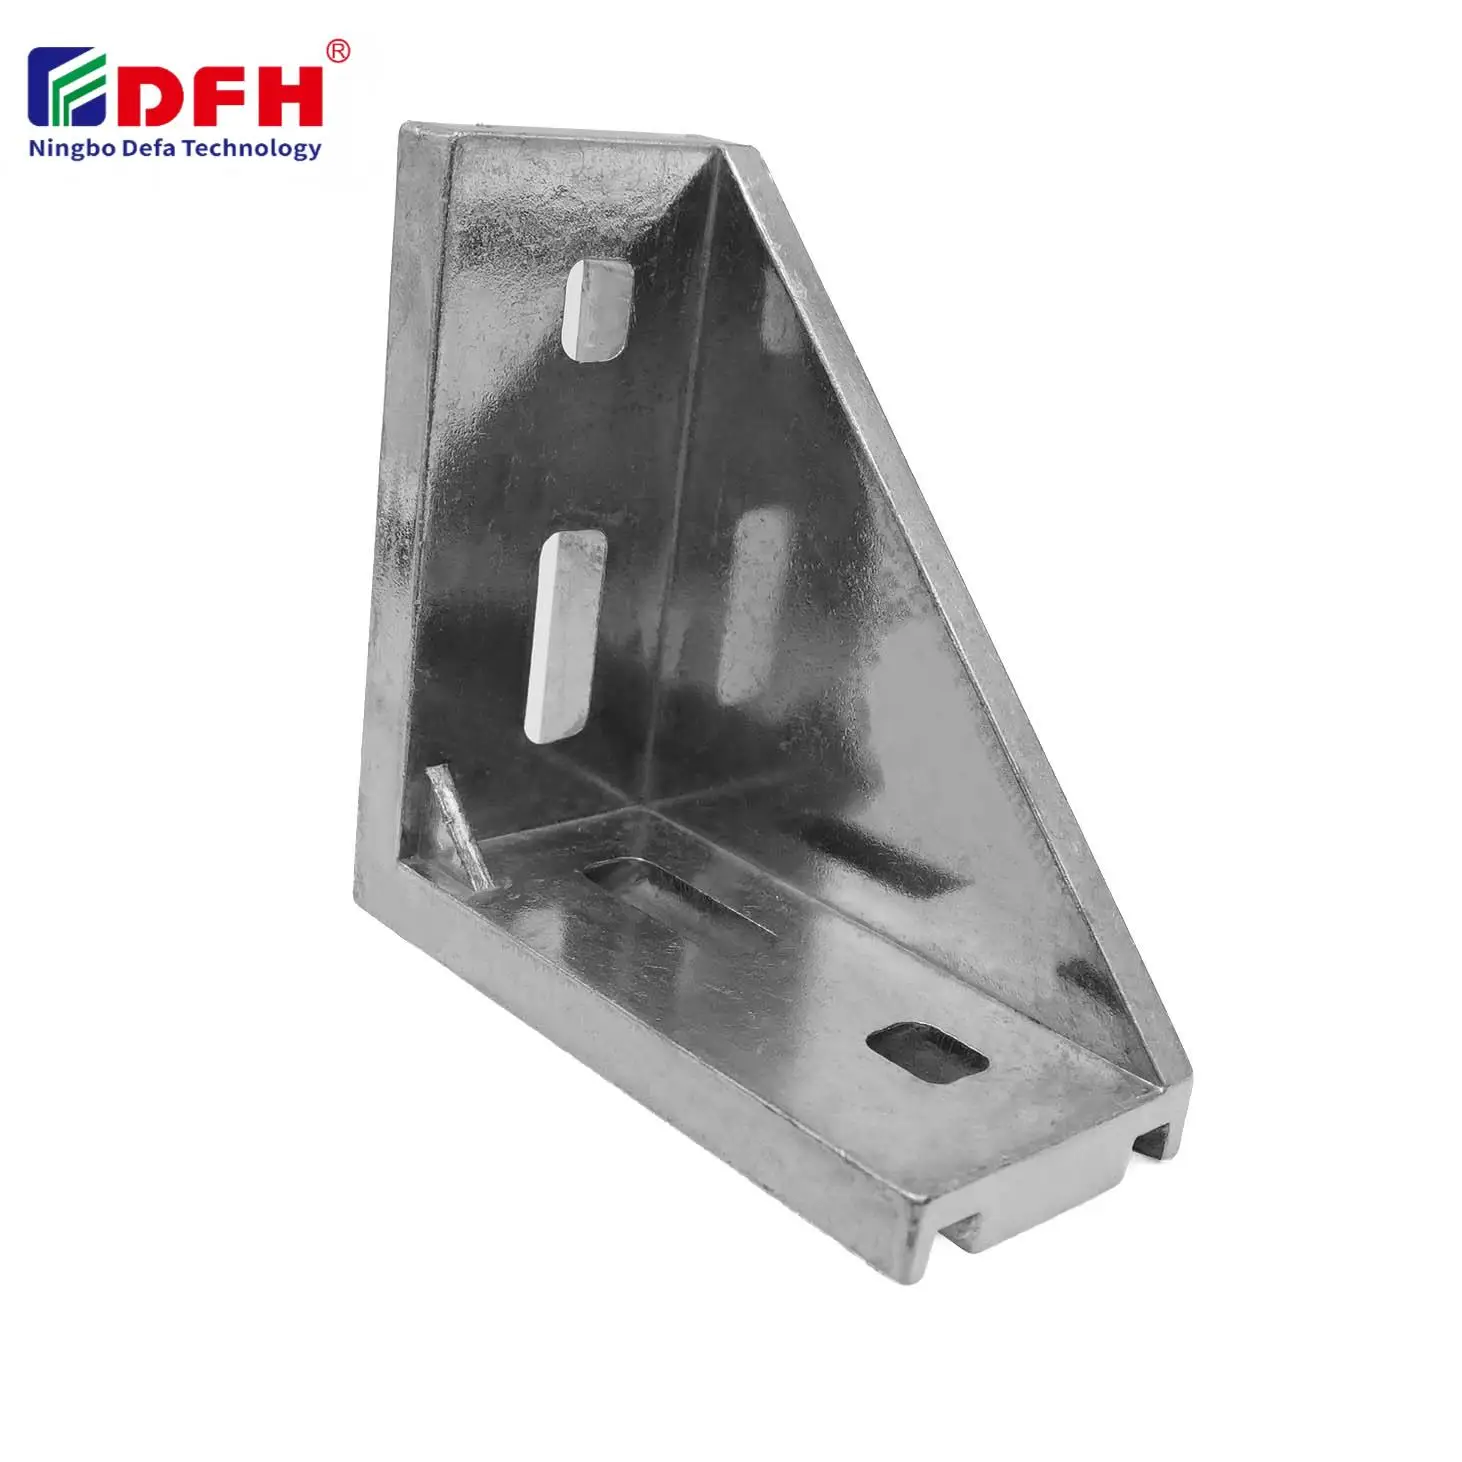
Understanding the fundamentals of angle connector installation begins with recognizing their role in your assembly. Right angle brackets and corner fasteners are engineered to support load-bearing connections at precise 90 degree joints, making their installation methodology essential for any builder or engineer. Improper installation can lead to misalignment, reduced load capacity, and premature failure, which is why following proven installation procedures matters significantly.
Before starting the installation process, carefully examine your angle connectors for any manufacturing defects, surface damage, or dimensional inconsistencies. Check that the right angle brackets meet your project's specifications and that all threaded holes or slots are clean and unobstructed. Inspect the fastening points to ensure they align with your structural components, and verify that the connector material is appropriate for your environment. This inspection phase prevents installation errors and ensures the corner fasteners perform as designed.
Organize a clean, well-lit work area with all necessary tools and fasteners within reach. You'll need wrenches or sockets that match your fastener sizes, a torque wrench calibrated to manufacturer specifications, a level or angle gauge to verify 90 degree joints, and any alignment guides or fixtures your project requires. Having the correct tools eliminates improvisation and ensures your angle connectors are installed with precision. Keep your work surface stable and protected to prevent damage to finished surfaces.
Position your structural components so they meet at the intended 90 degree angle, then slide or fit your angle connectors into place according to your assembly design. For extrusion-based systems, ensure the connector sits fully within the slot or mounting area without gaps or protrusions. Use alignment tools or temporary support brackets to maintain the correct angle during installation. Check that both legs of the corner fasteners contact their respective surfaces evenly, as uneven contact reduces holding capacity and can cause stress concentration.
Insert all fasteners through the connector's holes, then tighten them progressively in a crosshatch pattern rather than fully tightening one fastener at a time. This distributed tightening approach ensures even pressure distribution across the right angle brackets and prevents binding or misalignment. Apply torque according to the manufacturer's specifications, which account for material type, fastener size, and expected load. Over-tightening can strip threads or deform the connector, while under-tightening leaves the joint unstable and prone to vibration-induced loosening.
Once all fasteners are tightened, use a level or angle gauge to verify that your 90 degree joints are precise and square. Apply gentle lateral pressure to test the connection's rigidity, checking for movement or flex that might indicate incomplete seating or insufficient fastener tension. If you're installing multiple angle connectors as part of a larger frame, verify that the overall structure maintains its intended geometry and that all corner fasteners are evenly loaded. Thermal cycling or vibration testing may be appropriate for critical applications.
Every angle connector is designed with a maximum load rating that accounts for the material, connector thickness, and fastener configuration. Review the engineering data for your specific right angle brackets to understand their load capacity, whether your application involves static loads, dynamic loads, or environmental stresses. Never exceed the rated capacity of your corner fasteners, and apply safety factors appropriate to your industry and risk tolerance. Undersizing angle connectors to save cost creates liability and increases the risk of structural failure.
Temperature fluctuations, moisture exposure, and corrosive environments all affect the performance of angle connectors over time. Select materials and fasteners that resist corrosion in your specific environment, and verify that thermal expansion won't cause the 90 degree joints to shift or separate. If your installation operates in extreme temperature ranges, allow for expansion and contraction by using appropriate spacing and flexible fastening methods where applicable. Re-tighten fasteners periodically if your application experiences significant thermal cycling.
The most common mistake is uneven fastener tightening, where installers fully tighten one bolt before moving to the next. This approach causes misalignment and uneven pressure distribution, compromising the joint's integrity. Always tighten fasteners in a crosshatch pattern and apply consistent torque values. Testing the connection immediately after installation catches these errors early and prevents field failures.
Use a machinist's level or digital angle gauge positioned across the joint to verify the angle is true 90 degrees. Visually inspect the connector for gaps between its legs and the structural components; any visible gaps indicate poor seating that requires realignment. Apply light lateral pressure to test the rigidity; a stable joint should have no perceptible movement. For precision applications, measure the diagonal distances of your assembled frame; equal measurements confirm square corners and proper alignment of all corner fasteners.
In most cases, angle connectors can be reused if they show no damage, deformation, or wear on critical surfaces. Inspect the threaded holes carefully, as stripped threads may prevent secure reinstallation. Replace right angle brackets if fastener holes are enlarged, cracked, or damaged. If you plan to disassemble and reassemble your structure repeatedly, consider using lock-washer systems or thread-locking compounds to maintain fastener security without damaging the connector material.
2026/09/30
Source aluminum profiles for versatile modular framing. Learn extrusion mechanics, strength benefits & corrosion resistance. Request details.
2026/09/30
Source aluminum profiles for construction projects. Learn structural framing, cladding & window benefits for maximum ROI. Download guide.
2026/09/30
Source optimal aluminum profile sizing techniques. Evaluate load, space, alloy, environment & cost factors to prevent deflection. Download guide.
2026/09/30
Struggling with fastener failures or rework? Master screw sizing by diameter, pitch, material, and load—plus industry-specific standards. Optimize reliability & compliance now.
2026/09/30
Source aluminum profiles for industrial engineering. Discover strength-to-weight ratios, corrosion resistance & 30% cost savings. Download guide.
2026/09/30
Source heat-resistant aluminum profile systems. Master thermal expansion science & stress management strategies for industrial builds. Download guide.