EN
EN
What is Aluminum Profile and How Does It Work?
2026/09/30
Source aluminum profiles for versatile modular framing. Learn extrusion mechanics, strength benefits & corrosion resistance. Request details.

2026/09/18
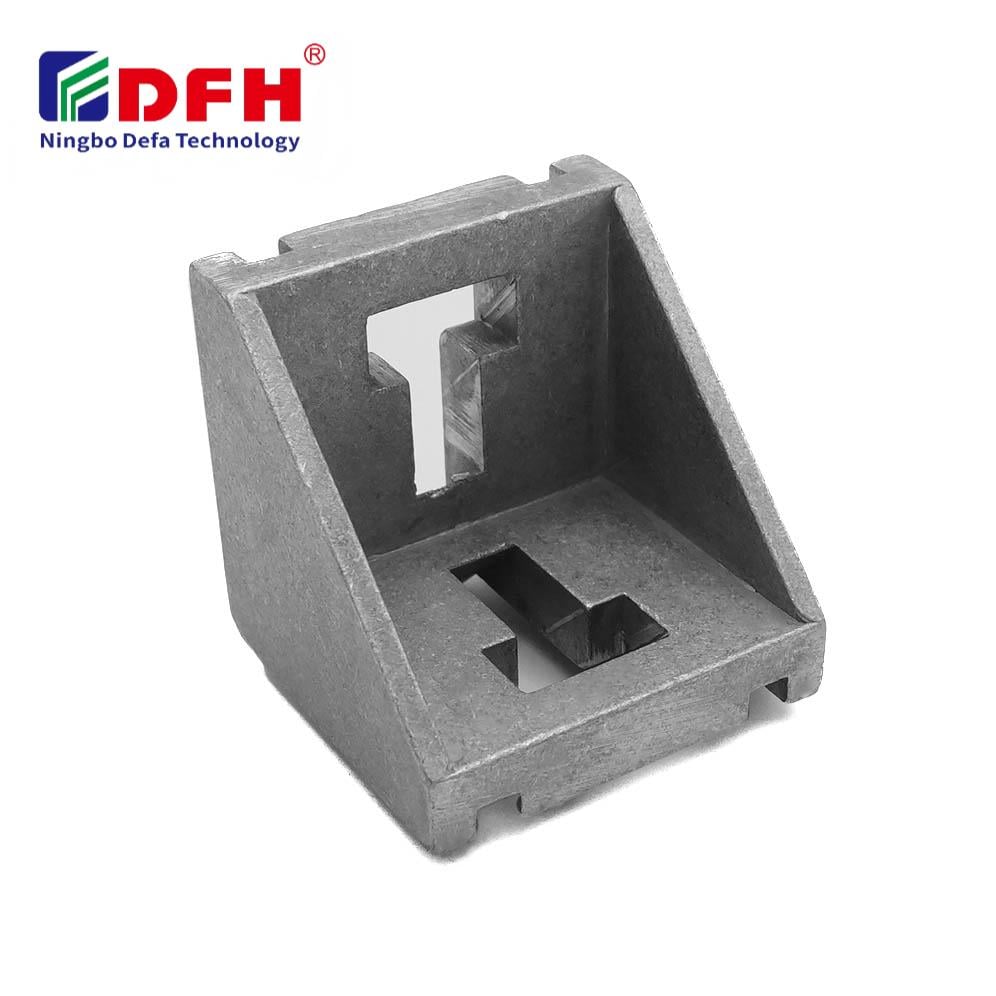
Installing leveling feet correctly is essential for ensuring stability, safety, and optimal performance of furniture and equipment across residential and industrial environments. Whether you are working with adjustable leveling feet on office furniture, laboratory equipment, or heavy machinery, proper installation directly impacts longevity and operational safety. Many facility managers and maintenance technicians overlook this seemingly simple task, yet incorrect installation can lead to wobbling surfaces, uneven weight distribution, and accelerated wear on both the equipment and the flooring beneath it.
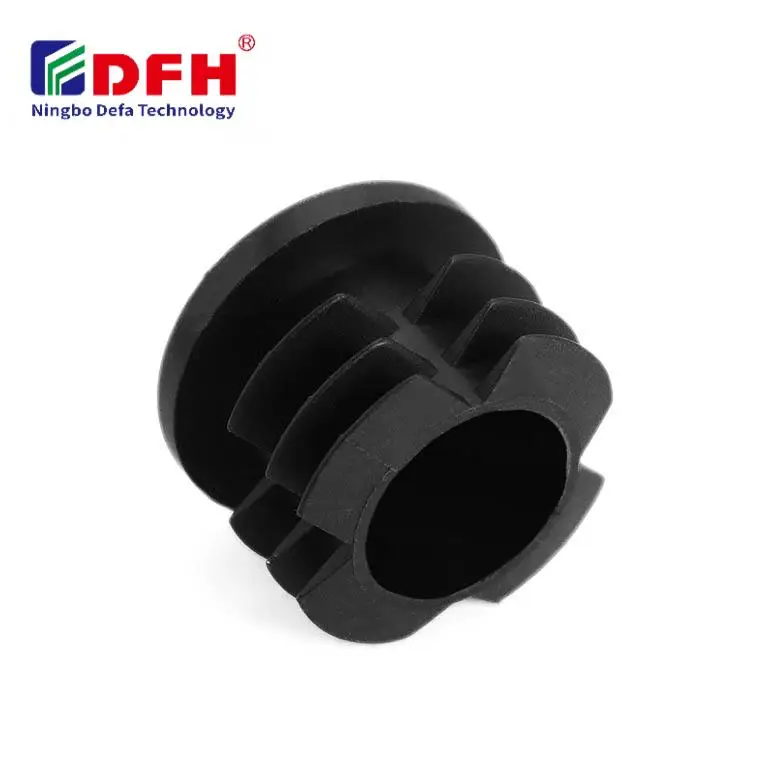
The process of installing furniture leveling feet requires attention to detail, the right tools, and a systematic approach. Understanding the mechanics of how industrial leveling feet function, recognizing the different types available, and following a clear installation sequence will help you achieve professional results every time. This guide walks you through each stage of the installation process, from preparation through final verification, ensuring that your equipment operates safely and efficiently on any floor type.
Adjustable leveling feet come in several configurations, each designed for specific applications and load capacities. Screw-type adjustable leveling feet feature a threaded base that can be rotated to raise or lower the height, making them ideal for permanent installations on solid flooring. Swivel-type industrial leveling feet include a ball joint that allows for both height adjustment and lateral movement, providing flexibility on slightly uneven surfaces. The material composition, whether plastic, rubber, or metal, determines the equipment's suitability for different environments and load requirements. Before you begin any installation, verify the maximum load capacity of your specific leveling feet model and confirm compatibility with your equipment's weight and floor surface.
Most furniture leveling feet systems include the foot itself, fastening hardware such as bolts or screws, washers, and sometimes locking nuts to prevent loosening from vibration. Industrial leveling feet often come with comprehensive installation kits that specify the exact fastener sizes and thread types required. Understanding these components ensures you have everything needed before beginning installation. Mismatched hardware or missing components can compromise stability and create safety hazards. Always cross-reference your equipment manual with the leveling feet documentation to confirm all required parts are present.
Begin by thoroughly inspecting the equipment base where the adjustable leveling feet will attach. Look for damage, corrosion, or bent attachment points that might prevent proper seating. Clean the mounting surface completely, removing dust, debris, and any old adhesive residue that could interfere with a secure connection. Check that your floor surface is reasonably level using a spirit level; if the floor slope exceeds one-quarter inch over ten feet, address this before proceeding. Gather all necessary tools, including a wrench or socket set, torque wrench if specified by the manufacturer, a spirit level for final verification, and appropriate personal protective equipment.
Mark the exact position where each industrial leveling feet will be attached, ensuring equal spacing from the equipment's center point. Asymmetrical positioning can cause uneven weight distribution and instability. Use a measuring tape and marking pen to identify drilling points with precision. Double-check measurements from multiple reference points on the equipment base. This preparation step prevents costly mistakes during installation and ensures that all furniture leveling feet work together as an integrated system rather than independently compensating for position errors.
Begin by installing the fastening hardware through pre-drilled holes or by carefully drilling new holes if the equipment base requires preparation. Insert bolts or screws at a slight angle to prevent cross-threading, then gradually tighten them by hand before using mechanical tools. If your adjustable leveling feet include locking nuts, apply these to prevent vibration-induced loosening during equipment operation. Hand-tighten all fasteners first to verify alignment, then use a torque wrench to apply the manufacturer-specified torque value. Over-tightening can strip threads or damage the material, while under-tightening leaves the feet vulnerable to movement or failure. Many installation failures result from inconsistent torque application across the four mounting points.
Once all industrial leveling feet are securely fastened, begin the height adjustment phase. Place your spirit level on the equipment's work surface and note which corners or edges are high or low. Adjust the threaded base of each foot slowly, making quarter-turn adjustments and checking the level frequently. This iterative process ensures accurate leveling without over-adjustment. For heavy equipment, have a second person monitor the spirit level while you adjust. After achieving level positioning, verify that the equipment has adequate clearance from walls and other objects. Some facilities require minimum air gaps for safety compliance or equipment maintenance access.
Conduct a comprehensive stability test by gently pushing the equipment from multiple angles to confirm it does not rock or shift. Walk around the equipment observing the gap between the base and floor from different perspectives to detect any uneven seating. Record the final height measurements and photograph the installation for your maintenance records. This documentation proves that proper installation procedures were followed and provides a baseline for future inspection. Test any moving components on the equipment to ensure that leveling did not restrict or interfere with normal operation.
Schedule periodic inspections of your adjustable leveling feet, especially in high-vibration environments where fasteners are prone to loosening. Check fastener tightness monthly for new installations, then reduce frequency to quarterly after the equipment has stabilized. Environmental factors such as temperature changes, floor settling, or heavy impacts from nearby equipment can affect leveling over time. Maintain records of all adjustments and inspections to track patterns and anticipate maintenance needs. Replacing furniture leveling feet when they show signs of wear, corrosion, or plastic degradation prevents unexpected equipment failure and maintains safety standards.
The most frequent error is failing to verify that all fasteners are equally tightened before making height adjustments. Uneven fastener pressure causes the equipment to tilt during the leveling process, making it impossible to achieve true stability. Additionally, many technicians neglect to apply the manufacturer-recommended torque specification, resulting in fasteners that either become loose during operation or damage internal threads. Always tighten all fasteners uniformly and confirm equal pressure distribution across all mounting points before proceeding to the height adjustment phase.
In most cases, industrial leveling feet can be retrofitted to existing equipment without complete disassembly, provided the base has adequate clearance and accessible mounting points. However, you must ensure that the equipment can be safely lifted to accommodate the foot hardware installation. For heavy machinery, this often requires proper lifting equipment such as hydraulic jacks or machinery movers. Always consult the equipment manufacturer's documentation to confirm that retrofitting is approved and safe. Some equipment may require special brackets or adapters, and professional installation services should be considered for complex or high-value installations.
A correct installation meets several criteria: the spirit level shows zero deviation when placed on the equipment's work surface from multiple directions, all fasteners are tight and secure with no visible movement, the equipment does not rock when pushed gently, and there is consistent and uniform gap between the base and the floor around all mounting points. Additionally, the equipment should operate smoothly without unusual vibration or noise that might indicate instability. If you observe any deviation from these standards, recheck your torque values and height adjustments before returning the equipment to active service.
2026/09/30
Source aluminum profiles for versatile modular framing. Learn extrusion mechanics, strength benefits & corrosion resistance. Request details.
2026/09/30
Source aluminum profiles for construction projects. Learn structural framing, cladding & window benefits for maximum ROI. Download guide.
2026/09/30
Source optimal aluminum profile sizing techniques. Evaluate load, space, alloy, environment & cost factors to prevent deflection. Download guide.
2026/09/30
Struggling with fastener failures or rework? Master screw sizing by diameter, pitch, material, and load—plus industry-specific standards. Optimize reliability & compliance now.
2026/09/30
Source aluminum profiles for industrial engineering. Discover strength-to-weight ratios, corrosion resistance & 30% cost savings. Download guide.
2026/09/30
Source heat-resistant aluminum profile systems. Master thermal expansion science & stress management strategies for industrial builds. Download guide.