EN
EN
What is Aluminum Profile and How Does It Work?
2026/09/30
Source aluminum profiles for versatile modular framing. Learn extrusion mechanics, strength benefits & corrosion resistance. Request details.

2026/09/21
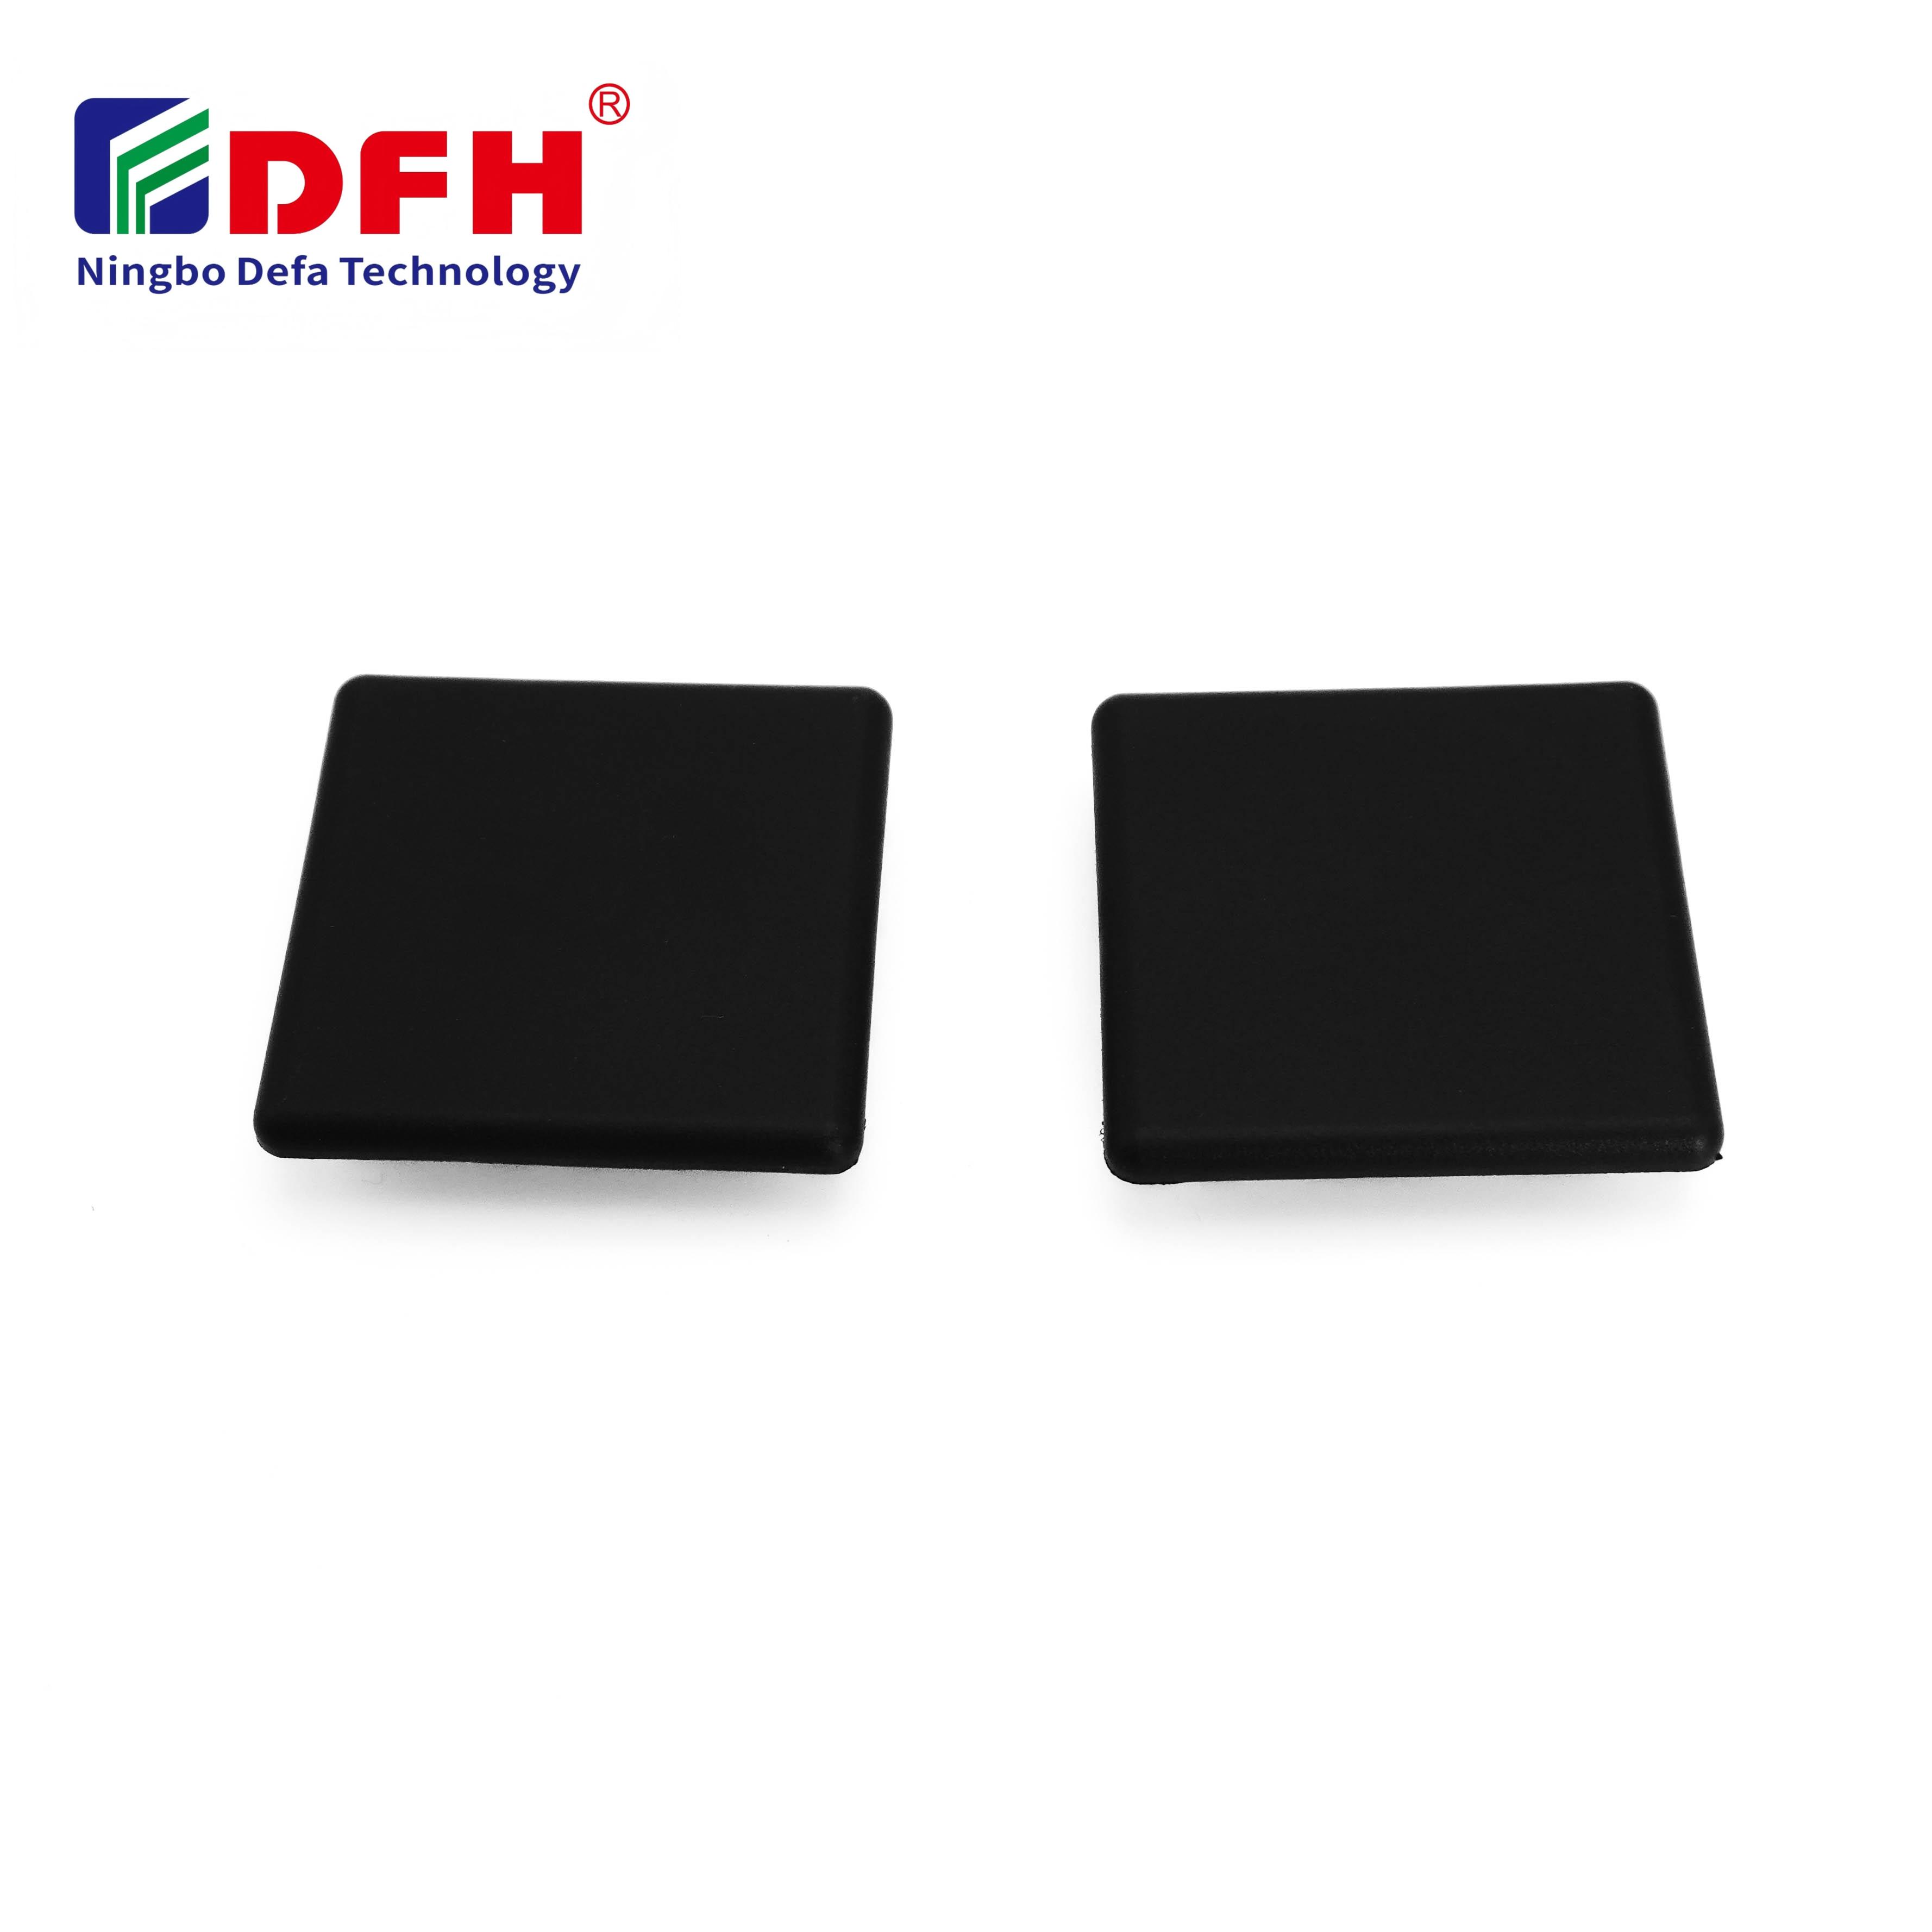
Installing an end cap on profile systems is a critical finishing step that protects structural integrity, prevents debris accumulation, and delivers a polished appearance to your industrial or architectural project. Whether you're working with aluminum extrusions, steel channels, or plastic profiles, proper end cap installation ensures your system remains durable and aesthetically complete. An end cap serves as both a functional closure and a professional finishing touch that extends the lifespan of your profile systems.
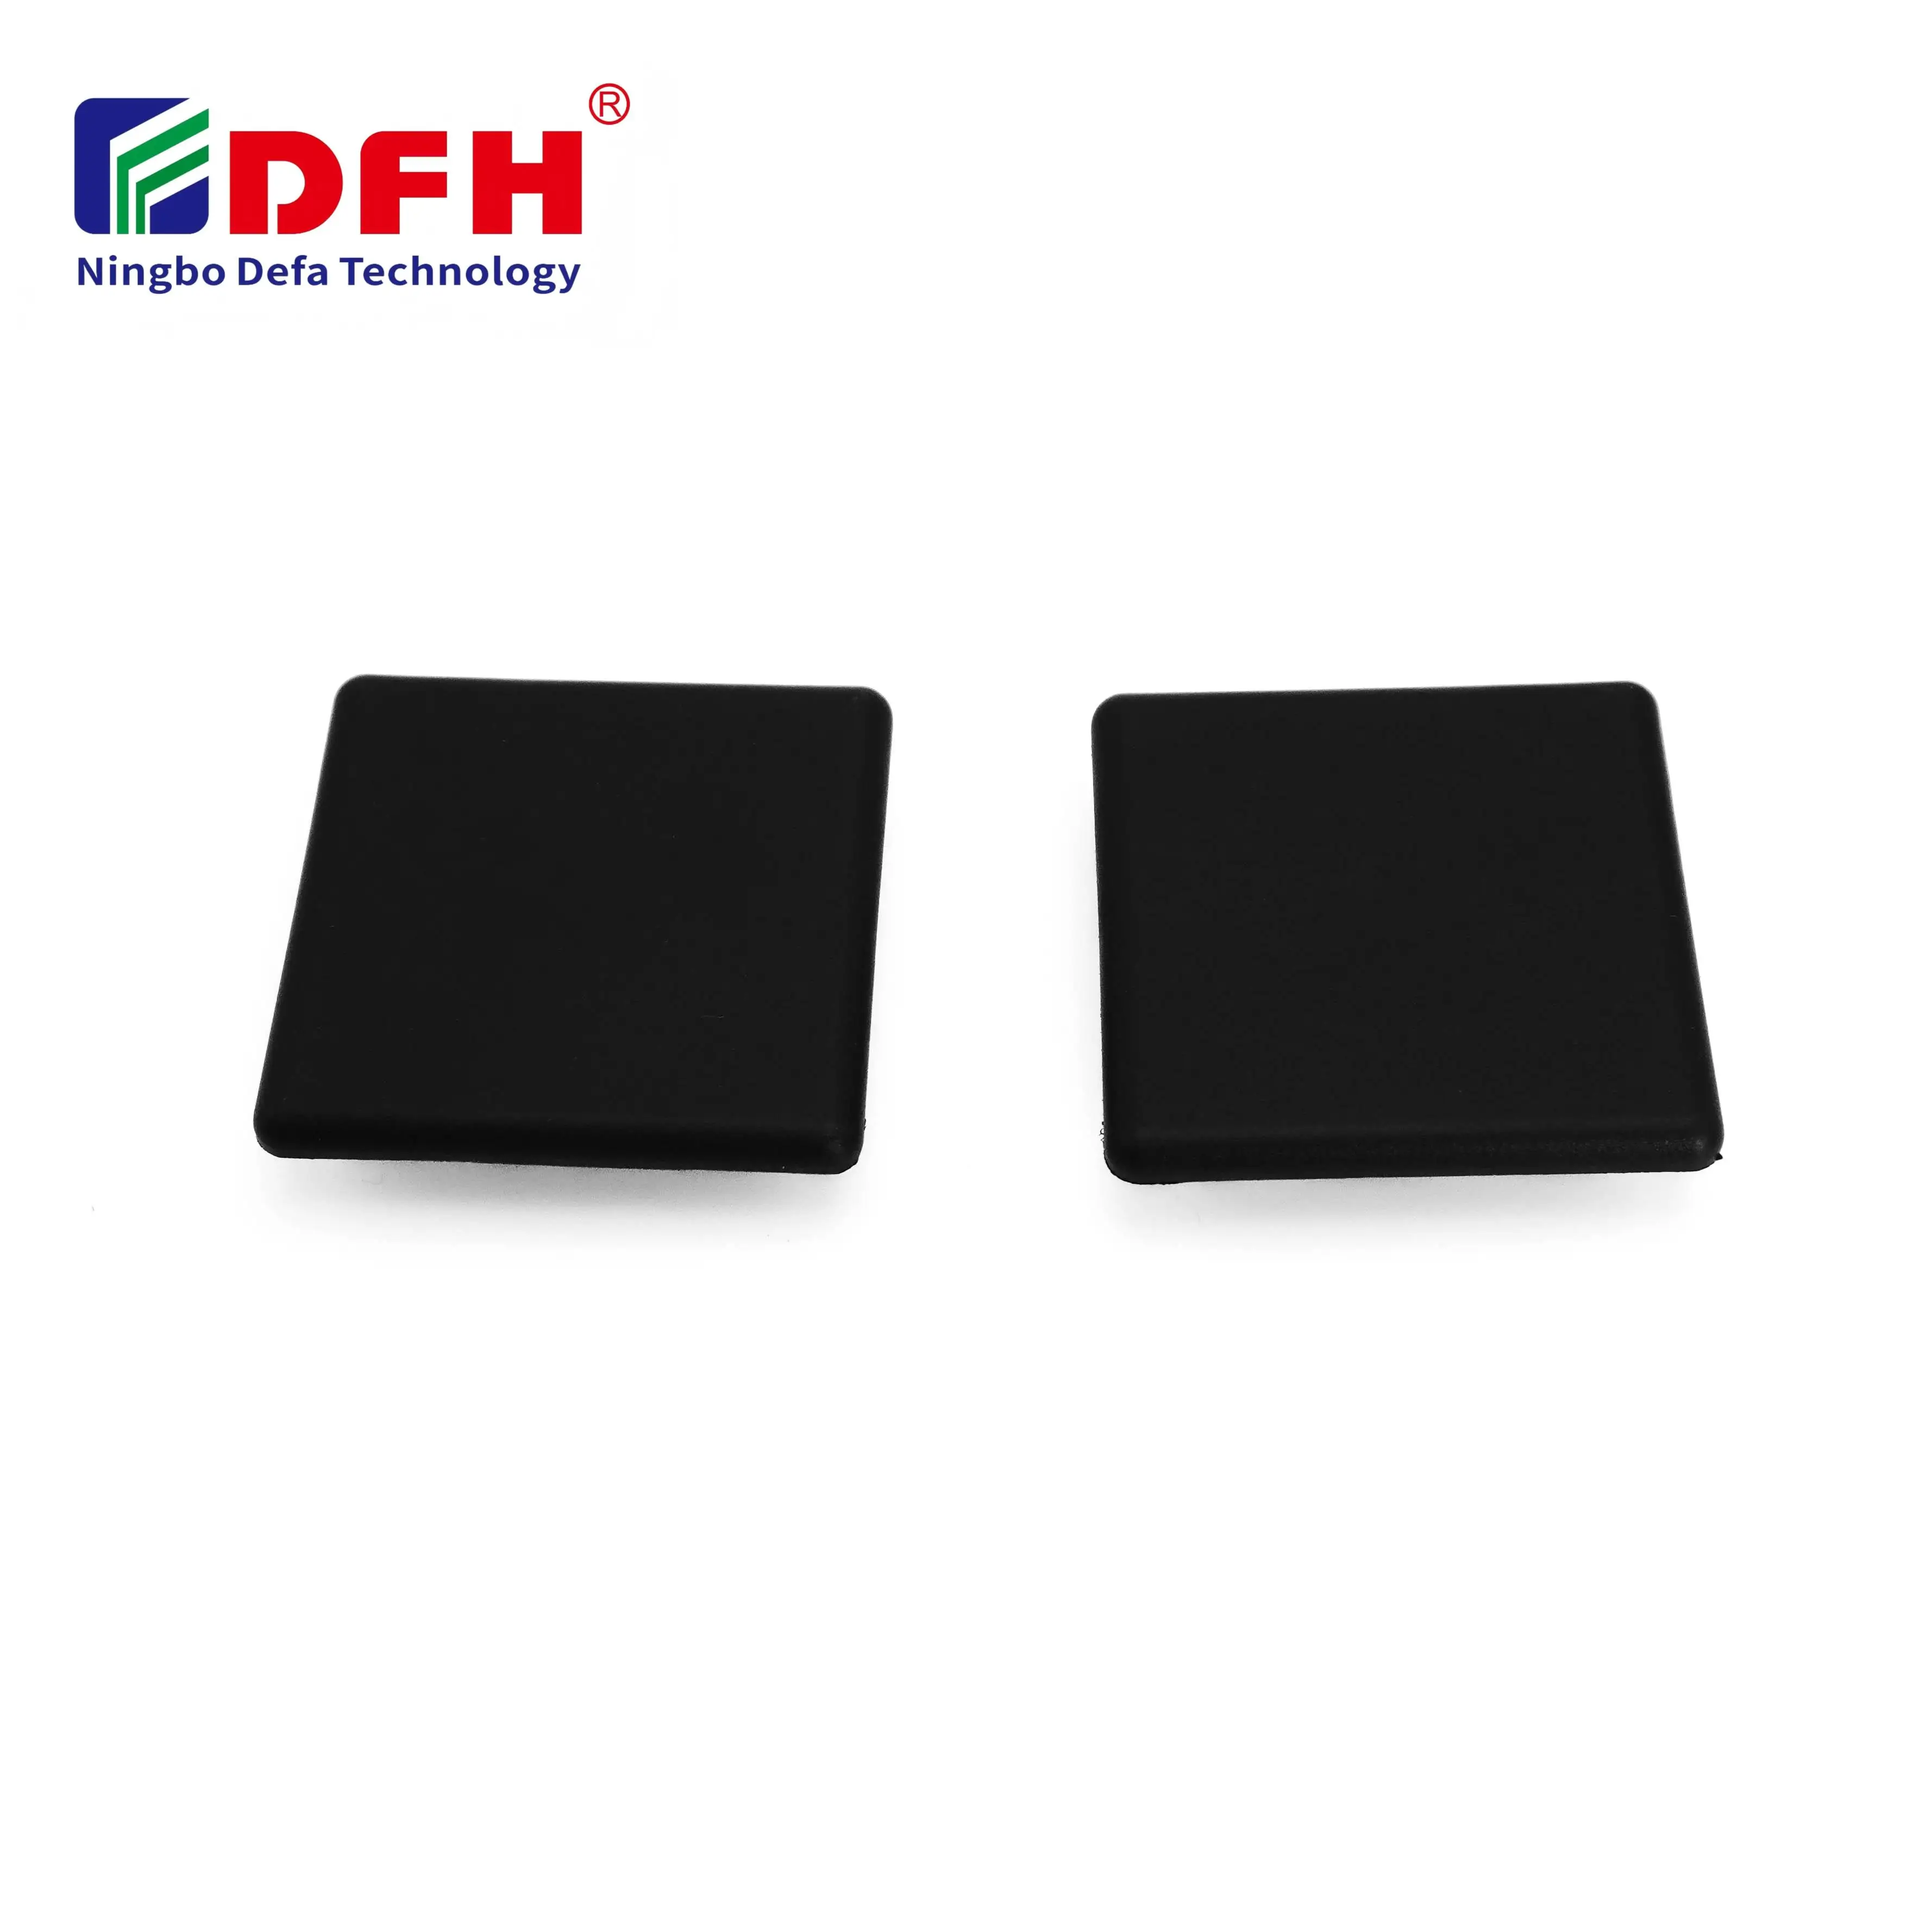
The process of installing profile end closure components requires precision, planning, and the right tools to ensure a secure fit and seamless integration with your existing system. This guide walks you through every step of the installation process, from preparation to final verification. Understanding proper aluminum extrusion finishing techniques will help you avoid common mistakes and achieve professional results every time.
Before you begin any installation work, proper preparation is essential for success. Start by measuring your profile dimensions accurately, as the channel cap cover must fit precisely within or over your existing profile system. Verify the profile type—whether it's T-slot aluminum, C-channel steel, or square tubing—because different profile geometries require specific end cap designs.
Selecting an appropriate channel cap cover depends on several material and environmental factors. Aluminum extrusion finishing options include anodized aluminum caps, powder-coated varieties, and natural aluminum closures, each offering different durability and aesthetic properties. For outdoor or corrosive environments, consider plastic or composite end caps that resist rust and weathering. Gather your installation materials: the correct end cap size, a soft mallet or rubber hammer, degreaser or cleaning solution, and measuring tools.
Inspect your profiles for any damage, debris, or sharp edges that could prevent smooth installation. Clean the profile ends thoroughly with a degreaser to remove dust, oils, or manufacturing residue. Dry the surfaces completely before proceeding, as moisture can interfere with proper seating and may compromise adhesive bond if your profile end closure uses sealants or epoxy compounds.
Gather essential tools for safe and effective installation: a rubber or soft-faced mallet, precision calipers or digital measuring tools, a straightedge or level, safety gloves, and eye protection. Some aluminum extrusion finishing applications require a heat gun or hot water to soften certain caps before installation. Ensure your work area is clean, well-lit, and organized to prevent accidents or dropped components.
Position your profile horizontally on a stable work surface or securing fixture. Hold the end cap above the profile end, checking alignment visually to ensure it sits straight and centered. Most profile end closure systems are designed for snug press-fit installation, meaning they rely on friction and mechanical contact to stay secure. Verify that the cap opening or mounting mechanism matches your profile configuration perfectly before applying any force.
For channel cap cover systems that slide onto external edges, introduce the cap gradually at a slight angle, then rotate or slide it into final position. For systems that sit inside profile slots, insert the cap straight into the slot opening, maintaining even pressure. If the fit is extremely tight, lightly tap the perimeter of the cap with a soft mallet to encourage seating without damaging the aluminum extrusion finishing or the cap itself.
Once the end cap is positioned correctly, apply gentle, even pressure using your hands or a soft mallet to fully seat it against the profile. Work methodically around all edges to ensure uniform contact. Test the fit by gently pulling or pushing the cap—it should not shift or rotate under moderate manual force. If it moves, remove it, clean the contact surfaces again, and reinstall with slightly more pressure or adjusted alignment.
Some high-performance applications benefit from adhesive or sealant reinforcement. Apply a thin bead of industrial epoxy or polyurethane adhesive to the profile edges or cap inner surfaces if specified by the manufacturer. This creates a permanent bond that improves weather resistance and vibration stability. Wipe away excess adhesive immediately with a clean cloth before it cures completely.
After installation, visually inspect the entire perimeter of your profile end closure for gaps, misalignment, or incomplete seating. Run your finger around the joint to detect sharp edges or uneven transitions. If using adhesive, allow the recommended cure time—typically 24 hours—before applying any load or stress to the assembly. Verify that the aluminum extrusion finishing and channel cap cover maintain consistent appearance and alignment with adjacent system components.
Tight end cap fits sometimes occur when profiles have slight manufacturing tolerances or surface irregularities. If a cap resists installation, remove it and use fine sandpaper or a deburring tool to smooth any rough edges on the profile opening. Never force a cap using excessive hammer strikes, as this can crack plastic end caps or dent aluminum components. If the cap remains too tight after surface preparation, contact the manufacturer to confirm compatibility or request a slightly oversized variant.
Loose caps indicate inadequate contact or profile wear. Inspect both the cap and profile opening for debris or damage. If the profile interior shows wear marks from repeated cap removal, apply a thin foam or rubber shim tape to the interior edges to increase friction and holding force. Some profiles allow you to install a small internal clip or retaining ring to mechanically lock the profile end closure in place permanently.
Periodically inspect installed end caps for loosening, especially in environments subject to vibration or thermal cycling. Check that aluminum extrusion finishing shows no corrosion, oxidation, or surface degradation. In harsh outdoor environments, apply protective coatings annually to maintain the channel cap cover appearance and structural integrity. Promptly address any visible cracks, chips, or separation from the profile to prevent water intrusion and internal corrosion that could compromise your entire system.
Industrial-grade epoxy or polyurethane adhesives are ideal for permanent end cap installations on aluminum extrusions. These adhesives bond reliably to clean aluminum surfaces and resist temperature fluctuations and moisture. Apply sparingly in a thin bead around the profile end closure contact surfaces. Two-part epoxies typically cure in 24 hours and provide exceptional shear strength, making them suitable for high-vibration applications where profile end closure stability is critical.
Reusability depends on the installation method and end cap material. Press-fit channel cap covers can usually be carefully removed and reinstalled multiple times without damage. However, end caps secured with permanent adhesive must be cut or ground away, destroying them in the process. If you anticipate future adjustments, use mechanical fasteners or removable adhesive formulations instead of permanent epoxy when securing your profile end closure components.
Proper sealing is essential for outdoor or wet-environment applications. Apply polyurethane sealant around the perimeter where the aluminum extrusion finishing meets the profile end closure. Use a caulking gun to create a smooth, continuous bead that bridges any micro-gaps. Allow the sealant to cure fully before exposing the assembly to moisture. For maximum protection, choose end caps specifically designed with internal gaskets or rubber seals that enhance the channel cap cover water resistance by default.
2026/09/30
Source aluminum profiles for versatile modular framing. Learn extrusion mechanics, strength benefits & corrosion resistance. Request details.
2026/09/30
Source aluminum profiles for construction projects. Learn structural framing, cladding & window benefits for maximum ROI. Download guide.
2026/09/30
Source optimal aluminum profile sizing techniques. Evaluate load, space, alloy, environment & cost factors to prevent deflection. Download guide.
2026/09/30
Struggling with fastener failures or rework? Master screw sizing by diameter, pitch, material, and load—plus industry-specific standards. Optimize reliability & compliance now.
2026/09/30
Source aluminum profiles for industrial engineering. Discover strength-to-weight ratios, corrosion resistance & 30% cost savings. Download guide.
2026/09/30
Source heat-resistant aluminum profile systems. Master thermal expansion science & stress management strategies for industrial builds. Download guide.