EN
EN
What is Aluminum Profile and How Does It Work?
2026/09/30
Source aluminum profiles for versatile modular framing. Learn extrusion mechanics, strength benefits & corrosion resistance. Request details.

2026/09/10
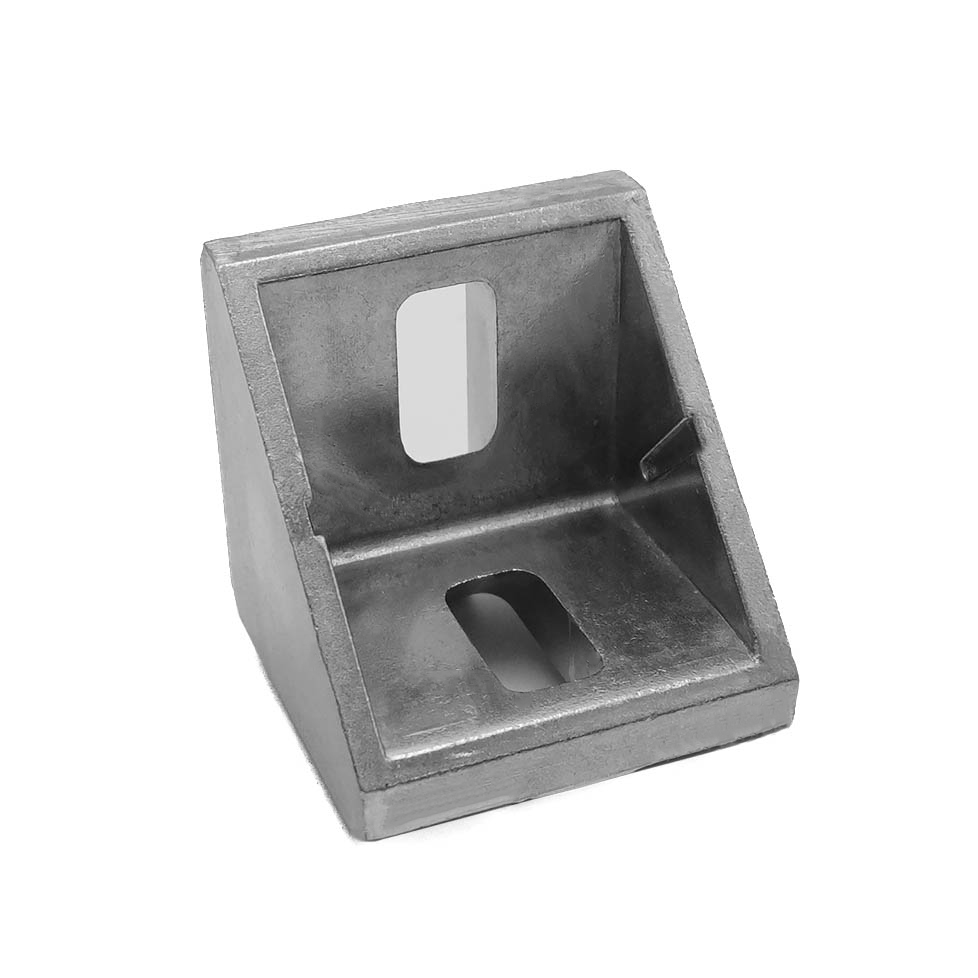
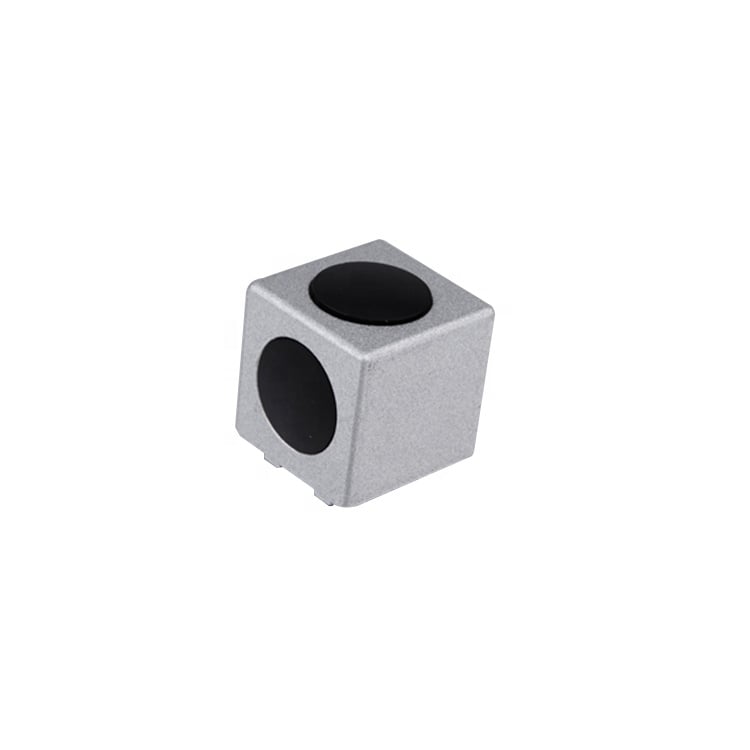
Proper installation of angle connectors is essential for creating strong, reliable joints in structural applications, mechanical assemblies, and framework projects. Whether you are working with aluminum extrusions, steel profiles, or composite materials, understanding the correct installation technique for angle connectors ensures that your assembled structure meets safety standards and performs as intended. This guide walks you through the complete process of installing angle connectors properly, from preparation through final tightening, to help you achieve professional-grade results.
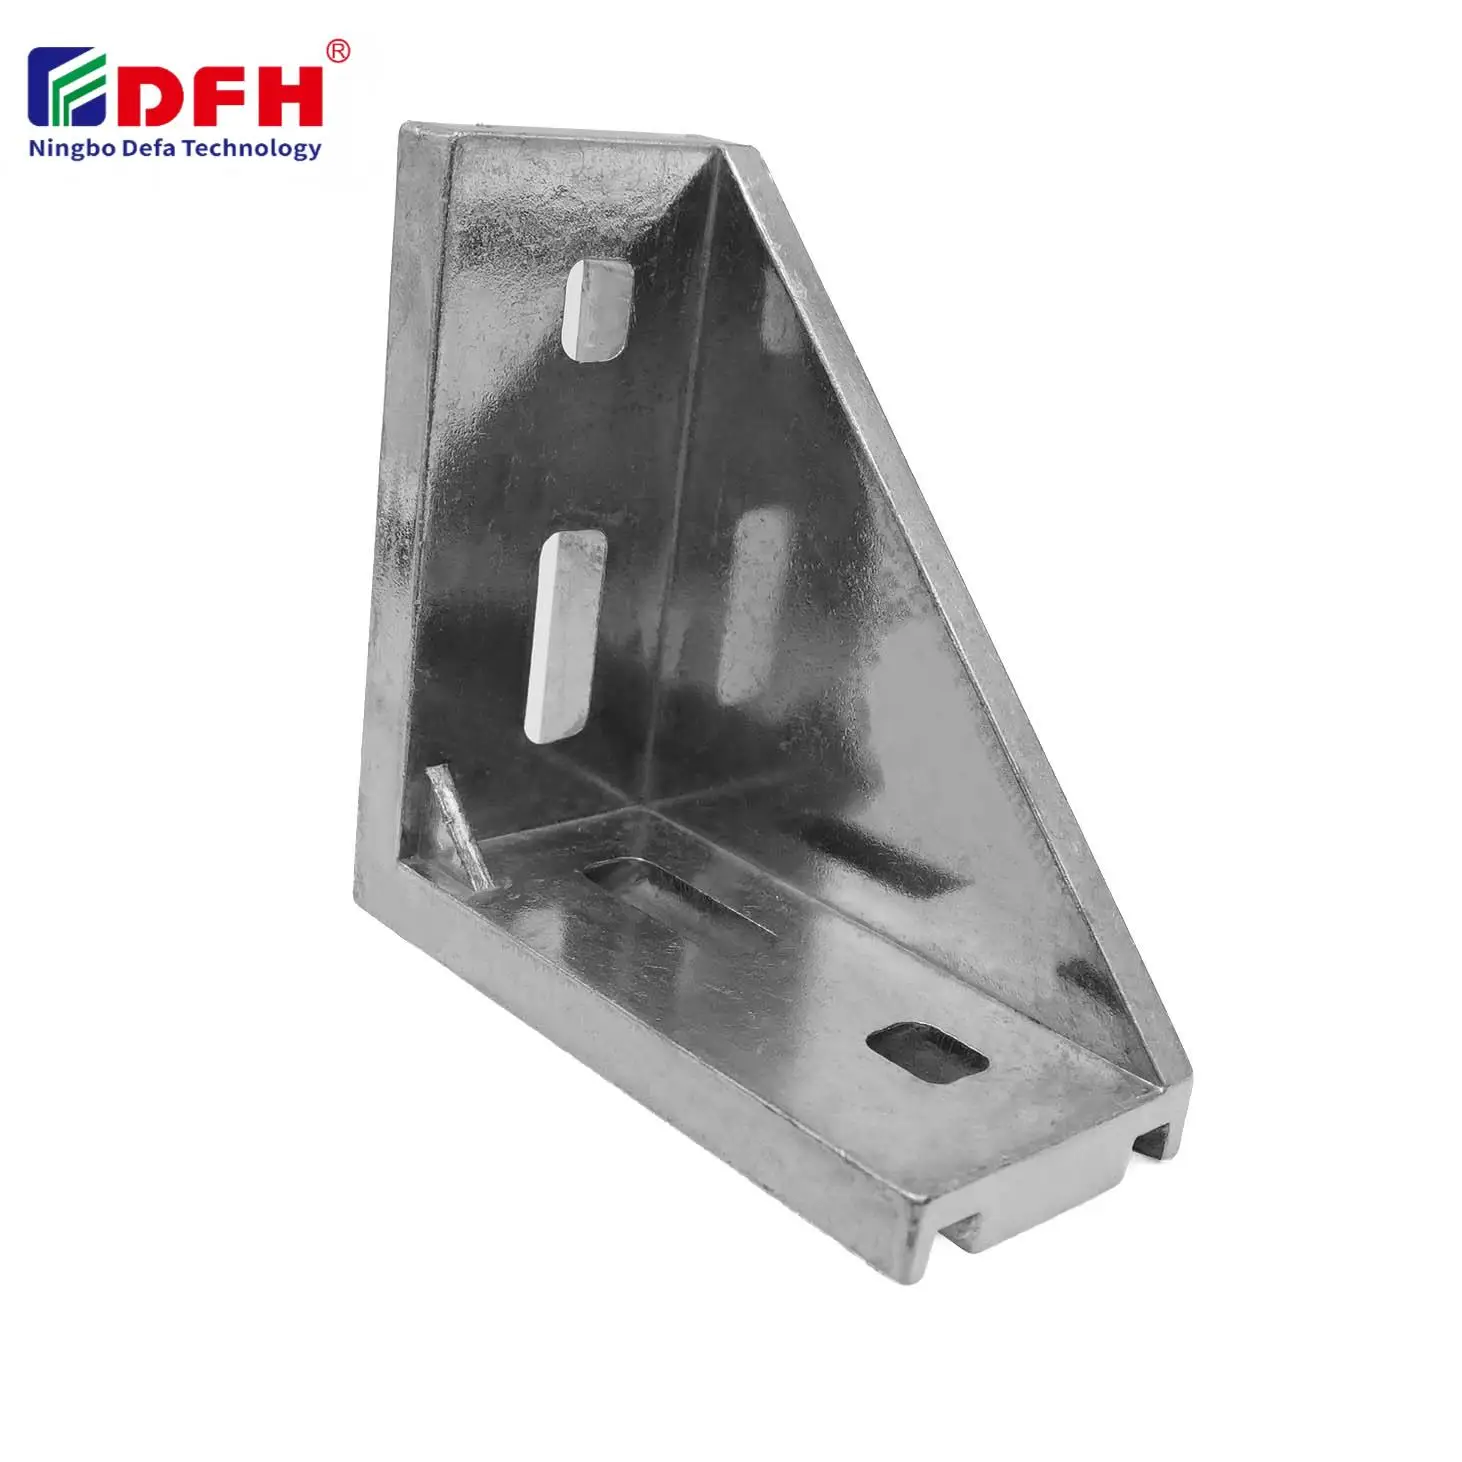
Angle connectors, also known as 90-degree joints or L-shaped fasteners, are fundamental components in industrial construction, equipment assembly, and DIY projects. The quality of your installation directly influences the durability, load-bearing capacity, and overall safety of the completed assembly. Taking time to follow proper installation procedures prevents common problems such as misalignment, loose connections, and premature wear.
Before you begin installing angle connectors, carefully examine all components to ensure they match your project specifications. Verify that the corner brackets you have selected are the correct size, material grade, and load rating for your application. Check that L-shaped fasteners have no visible damage, corrosion, or manufacturing defects. Inspect the surfaces where angle connectors will be mounted to confirm they are clean, flat, and free from debris or paint that could interfere with proper seating.
Collect all necessary tools before beginning the installation process. You will need a torque wrench calibrated to the correct specification, which is critical for achieving proper fastening without over-tightening. Gather appropriate fastening hardware such as bolts, screws, or rivets specified for your angle connectors. Have an alignment tool, such as a combination square or laser level, on hand to verify that 90-degree joints remain perpendicular throughout installation. Clean cloths, a degreaser, and safety equipment including gloves and eye protection complete your preparation kit.
Begin by positioning your Angle Connectors at the joint location, ensuring the two mounting surfaces are properly aligned. Use your alignment tool to verify that both sides of the corner bracket sit flush against their respective mounting surfaces, creating a true 90-degree angle. If the surfaces are not perfectly aligned, do not force the angle connectors into position. Instead, check for obstructions, surface irregularities, or warping that must be corrected before proceeding. Proper alignment at this stage prevents installation errors that become difficult or impossible to correct later.
Insert fasteners through the pre-drilled or designated holes in your L-shaped fasteners, working methodically from the center outward. This pattern distributes clamping pressure evenly and minimizes the risk of tilting or binding. Hand-tighten all fasteners first to secure the angle connectors in place without over-tightening. Once all fasteners are snug, use your calibrated torque wrench to apply final tightening in a cross-pattern, similar to changing a vehicle wheel. This technique ensures uniform pressure distribution across all 90-degree joints and maintains perfect perpendicularity.
After installing your corner brackets, perform a physical inspection to confirm all fasteners are tight and the assembly meets your alignment requirements. Gently apply pressure to the joint in multiple directions to verify there is no movement or flex indicating loose connections. Use your alignment tool once more to confirm that 90-degree joints remain perpendicular and that L-shaped fasteners have not shifted during final tightening. If any movement is detected, identify the loose fastener, apply corrective torque, and re-verify the alignment before putting the assembly into service.
Periodically inspect installed angle connectors throughout the life of your assembly, especially in high-vibration environments or applications subject to thermal cycling. Check for signs of loosening, corrosion, or stress concentrations around fastener holes. In industrial settings, re-torque critical connections at scheduled intervals to compensate for material settling or vibration-induced relaxation. Keep detailed maintenance records documenting all inspections, adjustments, and findings to support compliance requirements and inform future installation decisions for similar projects.
The most common error is over-tightening fasteners without using a calibrated torque wrench. This practice can strip threads, crack the connector itself, or deform the mounting surfaces. Always follow the manufacturer's recommended torque specification and use proper tools to achieve consistent, safe fastening of your angle connectors.
Properly installed 90-degree joints exhibit no visible gaps between the connector and mounting surfaces, all fasteners are uniformly tight when checked with a torque wrench, and alignment verification shows the joint maintains true perpendicularity. Additionally, the assembly should display no movement or flex when you apply hand pressure, and no fasteners should loosen during the weeks following installation.
Most L-shaped fasteners can be reused if they remain undamaged and fastener holes are not stripped or enlarged. Before reusing corner brackets, inspect them thoroughly for cracks, corrosion, or permanent deformation. If fastener holes show wear or enlarged threads, replace the affected connectors with new units to maintain safe load-bearing capacity in future installations.
2026/09/30
Source aluminum profiles for versatile modular framing. Learn extrusion mechanics, strength benefits & corrosion resistance. Request details.
2026/09/30
Source aluminum profiles for construction projects. Learn structural framing, cladding & window benefits for maximum ROI. Download guide.
2026/09/30
Source optimal aluminum profile sizing techniques. Evaluate load, space, alloy, environment & cost factors to prevent deflection. Download guide.
2026/09/30
Struggling with fastener failures or rework? Master screw sizing by diameter, pitch, material, and load—plus industry-specific standards. Optimize reliability & compliance now.
2026/09/30
Source aluminum profiles for industrial engineering. Discover strength-to-weight ratios, corrosion resistance & 30% cost savings. Download guide.
2026/09/30
Source heat-resistant aluminum profile systems. Master thermal expansion science & stress management strategies for industrial builds. Download guide.