EN
EN
What is Aluminum Profile and How Does It Work?
2026/09/30
Source aluminum profiles for versatile modular framing. Learn extrusion mechanics, strength benefits & corrosion resistance. Request details.

2026/09/10
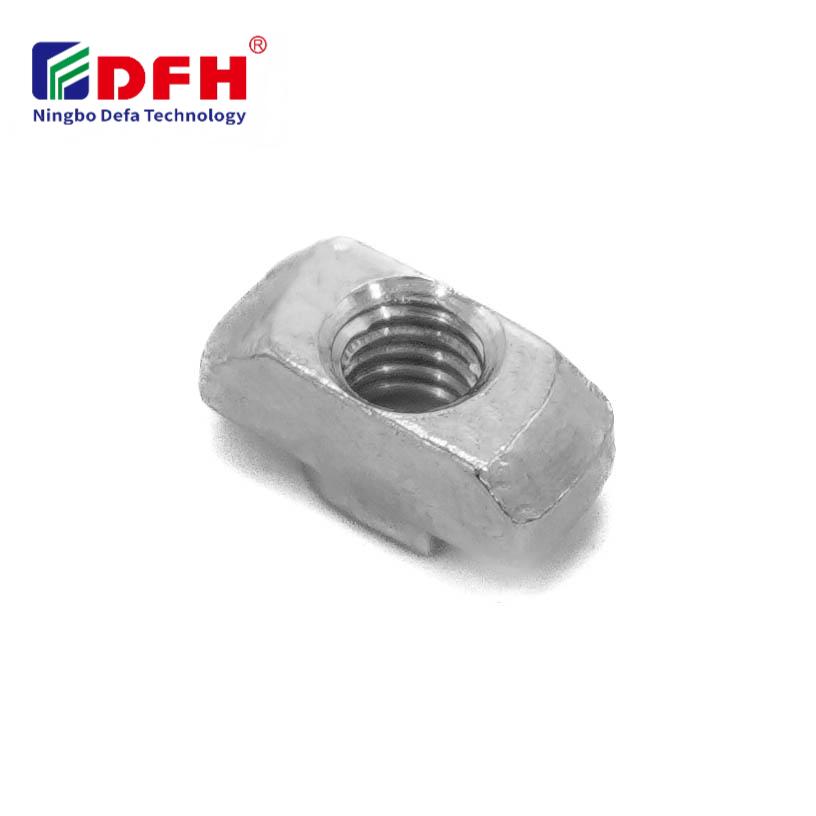
Installing a T nut correctly is essential for creating secure, reliable connections in aluminum profile systems and industrial assembly applications. Whether you are working with modular framing, machine mounting, or structural fabrication, the T nut serves as a critical fastening hardware component that enables quick adjustments and repositioning without disassembling the entire structure. Proper installation ensures load-bearing capacity, prevents loosening over time, and maximizes the flexibility of your T-slot systems.
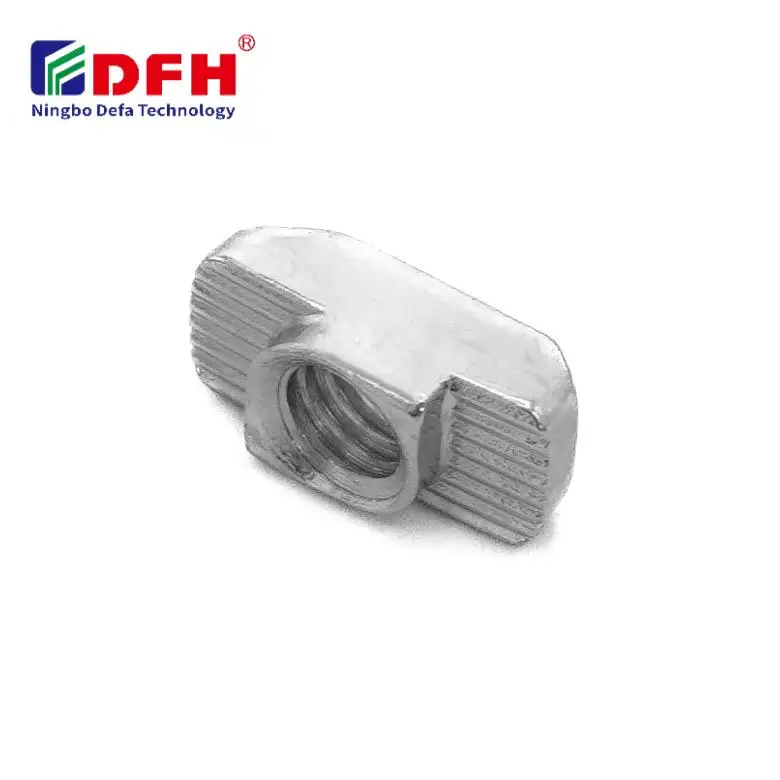
The T nut is a specialized threaded insert designed to fit into T-slot channels on aluminum profiles, allowing bolts to be inserted and tightened from the face of the profile rather than from behind. This design flexibility makes T-slot systems popular in manufacturing, laboratory setup, and modular construction environments where configuration changes are frequent. Understanding the correct installation procedure prevents cross-threading, material damage, and structural failure, while also reducing assembly time and labor costs across your projects.
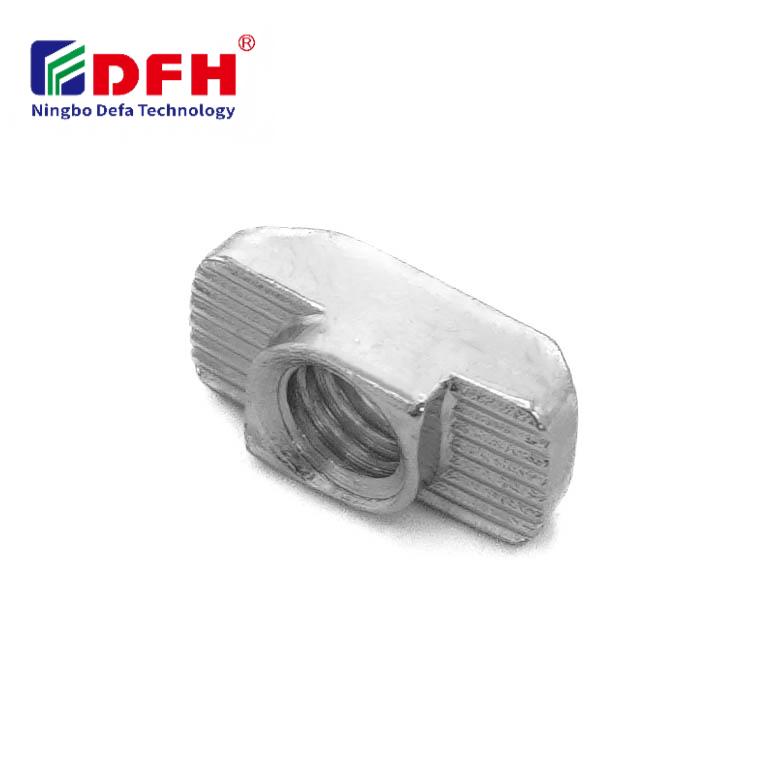
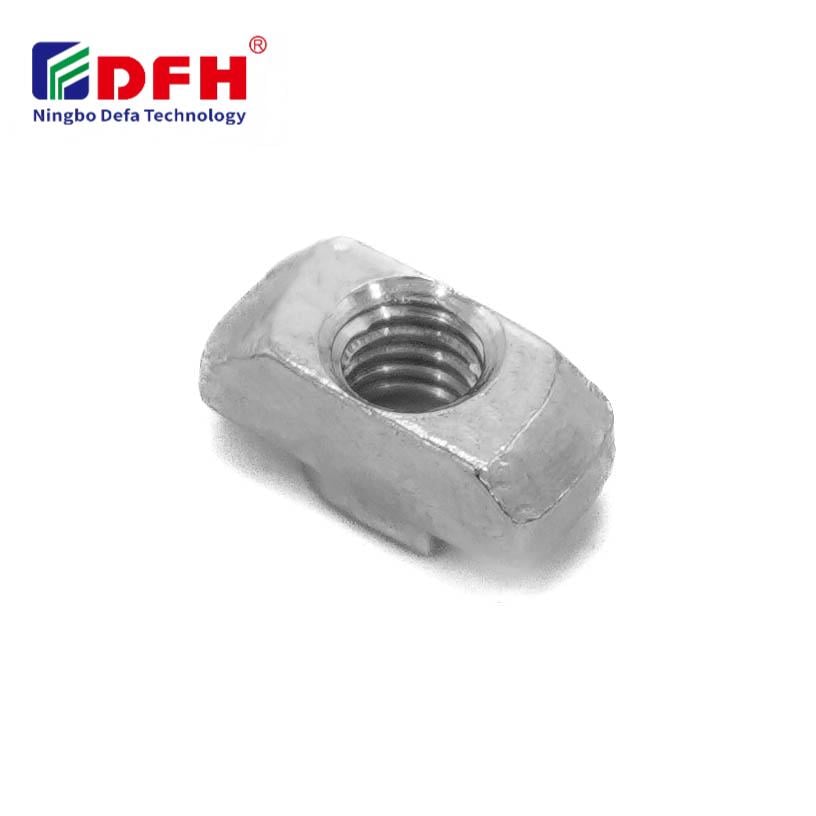
Before installation, verify that your T nut matches the T-slot dimensions of your aluminum profile. T-slot nuts come in standardized sizes corresponding to profile dimensions such as 4040, 4545, 2020, and 3030. The T nut features a pronged or hammer-head design that clips into the T-slot channel. The threaded hole in the center accepts bolts, screws, or other fastening hardware that secures your component. Measure the slot width and depth to confirm compatibility and prevent installation errors that compromise the integrity of your fastening hardware system.
Inspect the T-slot channel for dirt, oxidation, or debris that could prevent smooth insertion of the threaded insert. Use a soft brush or compressed air to clean the slot thoroughly. Check for any deformations or damage that might catch or bind the T nut during installation. A clean, obstruction-free T-slot channel ensures the T-slot nut seats properly and maintains consistent thread engagement with your fastening hardware, reducing the risk of misalignment or loosening during operation.
Position the T nut so the pronged end faces the open T-slot channel. Align the prongs with the slot opening and push the threaded insert straight into the channel with steady pressure. The prongs should slide smoothly along the slot walls. Do not force the T nut; if resistance occurs, stop and verify alignment. Once fully inserted, the T nut should be flush with or slightly recessed into the channel. Proper insertion of this fastening hardware component ensures even load distribution and prevents stress concentration that could lead to loosening or failure over time.
After inserting the T nut, insert your bolt or screw through the access hole or directly into the threaded hole of the T-slot nut. Tighten by hand first to ensure the threads engage correctly without cross-threading. Once hand-tight, use an appropriate wrench or hex key to apply final torque according to the bolt size and material specifications. The T nut should remain firmly seated in the T-slot channel during tightening. This secure fastening hardware arrangement prevents the T nut from rotating or dislodging, even under vibration or thermal cycling in industrial environments.
Pull gently on the T nut to confirm it does not slide or shift within the channel. Apply moderate torque to the fastening bolt and check that no movement occurs. Visually inspect the threaded insert from the side to ensure both prongs are equally seated against the slot walls. A correctly installed T nut remains stationary and centered, maintaining optimal alignment for your assembly. Verify that the threaded hole is accessible and free from obstruction before proceeding with component mounting or additional fastening hardware connections.
Cross-threading occurs when a bolt is inserted at an angle or when the threaded insert is misaligned. Always start bolt insertion slowly by hand, listening and feeling for proper thread engagement. If resistance is felt immediately, stop, back out the bolt, and realign. Never force a bolt into a T-slot nut or fastening hardware component; forcing causes permanent thread damage that renders the nut unusable. For high-precision applications, consider using a torque wrench to apply consistent, controlled pressure that prevents over-tightening and material stress.
When installing multiple T nuts along a single T-slot channel, space them appropriately based on your component load and support requirements. Ensure adequate clearance between adjacent threaded inserts so that tightening one bolt does not affect the positioning of neighboring fastening hardware. Stagger installation across the channel length to distribute load evenly and enhance structural stability. This systematic approach to T-slot nut placement prevents interference and ensures each fastening connection performs optimally throughout the service life of your assembly.
One major advantage of T-slot systems is the ability to reposition components without full disassembly. When installing a threaded insert, leave sufficient clearance above the slot opening for bolt or wrench access. Orient the T nut so the threaded hole faces the direction from which fastening hardware will be inserted. Plan your installation layout before securing all nuts to maximize future adjustability. This forethought reduces rework, accelerates maintenance, and preserves the modularity that makes T-slot aluminum profiles attractive for flexible manufacturing and laboratory environments.
A T nut is specifically designed for T-slot channels, featuring prongs that lock it in place along the slot. A standard threaded insert is typically cylindrical and installed by screwing or pressing into a drilled hole. The T-slot nut offers rapid insertion and removal without tools, while standard inserts require pre-drilled holes and more complex installation. The T nut excels in modular, adjustable assemblies, whereas standard threaded inserts suit permanent or semi-permanent applications where alignment and thread security are paramount.
Yes, T nuts are reusable if removed carefully and not stripped or deformed. Gently extract the T-slot nut by backing out the fastening bolt slowly and sliding the nut out of the channel without bending the prongs. Inspect the threads for damage before reinstalling. If the threaded insert shows deformation, corrosion, or thread wear, replace it to maintain assembly integrity. The reusability of T nuts is one reason they are preferred in modular systems where frequent reconfiguration and component changes are expected.
Apply moderate thread-locking compound to the bolt before inserting it into the threaded insert, following the product's temperature and strength specifications. Use lock washers or nylon-insert lock nuts as additional fastening hardware safeguards. Ensure the T-slot nut is fully seated and the bolt is properly tightened to the appropriate torque value for the bolt diameter and material. Periodic inspection and retightening of critical connections will catch any loosening early and prevent component failure in high-vibration industrial environments.
2026/09/30
Source aluminum profiles for versatile modular framing. Learn extrusion mechanics, strength benefits & corrosion resistance. Request details.
2026/09/30
Source aluminum profiles for construction projects. Learn structural framing, cladding & window benefits for maximum ROI. Download guide.
2026/09/30
Source optimal aluminum profile sizing techniques. Evaluate load, space, alloy, environment & cost factors to prevent deflection. Download guide.
2026/09/30
Struggling with fastener failures or rework? Master screw sizing by diameter, pitch, material, and load—plus industry-specific standards. Optimize reliability & compliance now.
2026/09/30
Source aluminum profiles for industrial engineering. Discover strength-to-weight ratios, corrosion resistance & 30% cost savings. Download guide.
2026/09/30
Source heat-resistant aluminum profile systems. Master thermal expansion science & stress management strategies for industrial builds. Download guide.